




DIY vs professional caulking: which should you choose?
Caulk your own house only where you can reach the joint safely and the run is short. Ground-floor windows, a few metres of trim, and low-movement gaps you can seal standing on a step ladder are a fair weekend project. Second and third-storey joints, long runs of failed bead, and masonry or expansion joints belong with a professional, mostly because of ladder safety and because those joints need proper prep, sizing, and tooling to survive a Toronto winter. The dividing line is height and footage, not skill with a tube.
Key Takeaways
- DIY is fine for ground-floor windows, short trim joints, and low-movement gaps you can reach from a step ladder on level ground. Anything on the second or third storey should be hired out.
- A basic DIY tool kit runs roughly $40 to $90 CAD plus $10 to $18 per tube of quality exterior sealant, so a few windows is genuinely cheap to do yourself.
- Standalone professional caulking runs about $3 to $8 per linear foot with a $300 to $600 minimum, but bundled into an exterior paint job it costs far less per foot.
- The lifespan gap is about prep and joint sizing, not the tube. A properly sized premium bead lasts 15 to 20 years; a bead smeared over old caulk often fails in two or three.
- Toronto averages about 61.9 freeze-thaw cycles a year, so every exterior joint moves constantly. A pro sizes the joint to stretch with that movement instead of tearing.
- Vet a caulking company like any contractor: proof of WSIB and liability insurance, a named sealant with a reason, old-caulk removal in scope, and a written workmanship warranty.
I'm Chad Caglak, and I have sealed Toronto exteriors for over 20 years. Caulking is the one exterior task homeowners most often ask me whether they can just handle themselves, and my honest answer surprises people: sometimes, yes. A steady hand, a clean joint, and the right tube of sealant will seal a ground-floor window as well as I would. The problem is almost never the caulking itself. It is where the caulking lives.
Most of the failed beads I get called to fix are up high, on the second storey around a bedroom window or along a gable, where a homeowner either could not reach them or should never have tried. So the question isn't "can I caulk?" It's "which of these joints can I safely and properly reach, and which do I hand to a crew with ladders and insurance?" This guide draws that line for you. For the full picture of what exterior caulking does and where it belongs, start with the exterior caulking guide for Toronto homeowners.
When DIY caulking is the right call
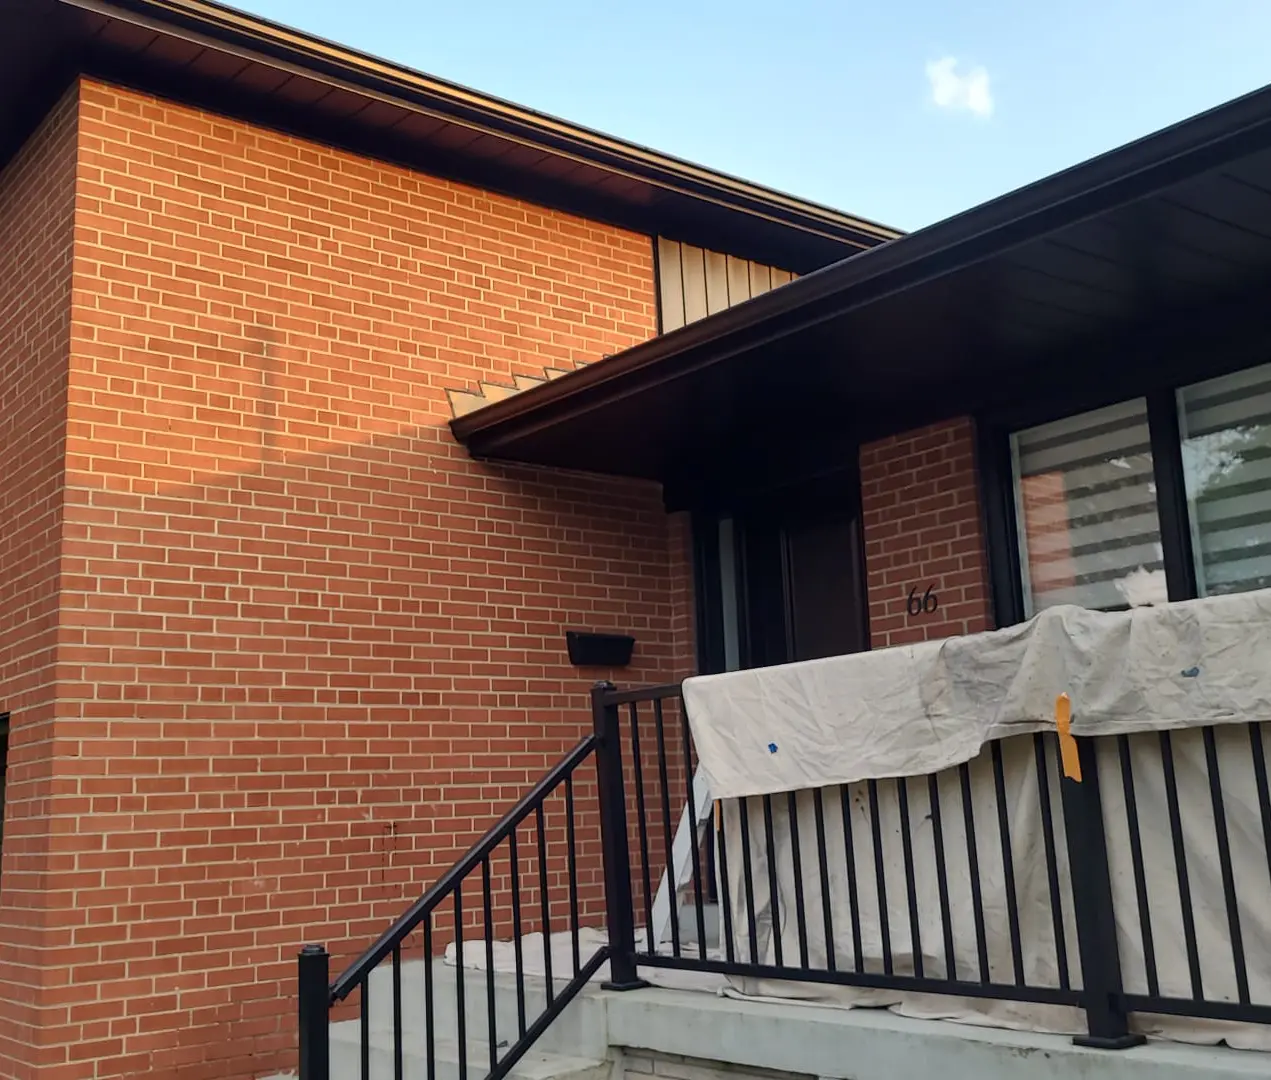
DIY makes sense when the joint is low, short, and low-movement. If you can reach it safely from a step ladder on level ground, the failed run is only a few metres, and the gap is a normal window or trim joint rather than a structural crack, this is a legitimate weekend job. You will save the contractor minimum and learn your own house in the process.
The clearest DIY candidates are ground-floor and porch-level windows and doors, short lengths of trim, and the vertical joints where siding meets a corner board at eye level. These are the joints you can actually inspect, clean out, and tool properly with two feet on something solid. Sealing them yourself is cheap and satisfying, and it is exactly the kind of small maintenance that keeps water out of the wall between bigger repaints.
Two conditions matter more than anything. First, you have to remove the old failed caulk, because fresh sealant will not bond to old caulk, paint chalk, or dust. Second, you seal the tops and sides of openings and leave the drainage gaps at the bottom of the siding open. Caulk the wrong gap and you trap water in the wall instead of keeping it out.
On a Toronto job: the DIY split I recommend most is simple. Do the ground floor yourself and let a crew handle the upper storeys on the same season. You get the reachable joints done at material cost, and you are not on an extension ladder over a concrete walk to save a few hundred dollars.
When to hire a professional caulking contractor
Hire out the moment the work goes above a step ladder or past a short run. The four situations that should always go to a pro are height, footage, difficult substrates, and any joint you want backed by a warranty. Each of these is where a rushed DIY bead either fails early or puts you on a ladder you have no business being on.
Height is the big one. Second and third-storey joints, gable ends, and anything over a garage roof or a stairwell mean an extension ladder or scaffold. Falls from ladders are one of the most common and most serious home-maintenance injuries, and a caulking gun in one hand makes a ladder far less stable. No bead of caulk is worth that risk. A crew with proper ladders, stabilizers, and fall awareness does the same work in a fraction of the time and without the danger.
Long footage is the second trigger. A few windows is a DIY afternoon; a whole house of failed acrylic bead is a day or two of removal and re-sealing that will wear out a weekend warrior and probably look it. Masonry and expansion joints are the third: control joints in brick or stucco, and the wide gaps around masonry openings, need backer rod, the right high-movement sealant, and proper tooling to hold. Get the joint depth wrong and even a premium sealant tears.
The fourth reason is the one people forget. A professional bead comes with a workmanship warranty, and it ties into the paint warranty when the caulking is done as part of a repaint. Your own caulking carries no such backing. If sealing and painting are happening together, this is also a timing question, and the order matters more than most homeowners expect. See whether to caulk before or after painting before you start either one.
What DIY caulking actually costs in tools and materials
DIY caulking is cheap on materials and free on labour, which is the whole appeal. A first-time kit runs roughly $40 to $90 CAD, and most of that is one-time tooling you keep. The sealant itself is the recurring cost, and a quality exterior tube runs about $10 to $18. For a handful of ground-floor windows, you are looking at well under $150 all in.
Here is what a basic DIY caulking kit costs in the Toronto market:
| Item | Rough cost (CAD) | Notes |
|---|---|---|
| Dripless caulking gun | $15 to $40 | Buy the dripless type; the cheap ratchet guns waste caulk |
| Caulk removal tool or utility knife | $8 to $20 | For cutting out the old failed bead |
| Backer rod | $6 to $12 | Foam rope for any gap wider than a quarter inch |
| Painter's tape and rags | $10 to $20 | Clean lines and joint cleaning |
| Exterior hybrid or polyurethane sealant | $10 to $18 per tube | Never interior painter's caulk outside |
The catch is that the tools do not buy skill or reach. You still have to remove the old caulk, size the joint, and tool the bead, and you still cannot safely do the upstairs windows. So the DIY saving is real on the ground floor and evaporates the moment the job needs a ladder and a crew.
How much does a caulking contractor charge in Toronto?
A caulking contractor in Toronto generally charges about $3 to $8 per linear foot for standalone exterior work, plus a minimum service charge that often lands between $300 and $600. The per-foot number moves with how much old caulk has to be cut out, how high the joints sit, and what sealant the job calls for. Removing a whole house of brittle acrylic and re-sealing with a high-movement hybrid costs more than laying fresh bead into clean joints.
The minimum charge catches people off guard. Sending a crew and ladders out for one second-storey window is not worth a small ticket, so contractors set a floor. The cheapest way to buy caulking is to bundle it into an exterior paint job, because the crew, the ladders, and the prep are already on site. Caulking is a small line on a repaint and a comparatively expensive standalone call. For the full breakdown of what sealing a Toronto house costs on its own and as part of a repaint, see the exterior caulking cost guide.
One question decides whether you are comparing quotes fairly: does the price include removing the old bead, or just laying new caulk over it? Beading over old caulk is faster and cheaper and fails within a season or two, because the new sealant bonds to the old one instead of the substrate. A quote that removes and re-seals costs more for a reason.
The quality and lifespan gap between DIY and a pro
The difference between a DIY bead and a professional one is prep and joint sizing, not the sealant in the tube. Both can buy the same premium hybrid off the same shelf. The bead that lasts 15 to 20 years is the one applied to a clean joint, sized to the right depth with backer rod, and tooled so it grips both faces. The bead that fails in two or three years is the one smeared over old caulk into a joint that was too deep or too dirty to bond.
That sizing detail is where our climate is unforgiving. Toronto averages about 61.9 freeze-thaw cycles a year (City of Toronto, Toronto's Current and Future Climate, Appendices, retrieved 2026), so every joint expands and contracts constantly. Sealants are rated for how far they can move without failing, from roughly plus or minus 12.5% for basic acrylic up to plus or minus 50% for high-movement products (ASTM C920, Standard Specification for Elastomeric Joint Sealants, retrieved 2026). A bead that is too deep, or bonded to three sides instead of two, cannot stretch and tears down the middle the first hard winter.
What I usually spec: on any joint wider than about a quarter inch I install backer rod first so the caulk forms an hourglass shape that flexes, then tool the bead firmly into both faces. That one step, which most DIY jobs skip, is the difference between a decade of service and a bead that splits by spring.
Here is the honest side-by-side, factor by factor:
| Factor | DIY | Professional |
|---|---|---|
| Best for | Ground-floor windows, short trim runs, low joints | Upper storeys, long footage, masonry and expansion joints |
| Reach and safety | Step ladder only; unsafe above it | Ladders, stabilizers, scaffold, trained crew |
| Typical cost | $40 to $90 kit plus $10 to $18 per tube | $3 to $8 per linear foot, $300 to $600 minimum |
| Realistic lifespan | Two to twenty years, depends entirely on prep | 15 to 20 years on a sized, tooled joint |
| Warranty | None | Written workmanship warranty, ties to paint warranty |
| Old-caulk removal | Often skipped, which causes early failure | Removed and re-sealed as standard scope |
How to find a caulking company in Toronto
Vet a caulking company the same way you would vet any exterior contractor: insurance first, scope second, warranty third. The trade is full of one-tube handymen who bead over old caulk and disappear, so the goal is to find a licensed, insured exterior painting or restoration contractor who treats sealing as envelope work, not decoration.
Ask these five things before you sign:
- Proof of WSIB coverage and liability insurance, dated and in writing. A crew on a ladder on your property has to be covered, and this filters out the uninsured fast.
- Which sealant they will use and why. A real answer names a product and a movement rating for your surfaces. A vague "good caulk" answer is a flag.
- Whether they remove the old bead or caulk over it. Removal should be in the scope, not an upsell you discover later.
- The workmanship warranty term, in writing. Two to five years is normal, and it should say what it covers.
- References from work done 18 to 24 months ago, so you can see how the beads held through a Toronto winter rather than how they looked the day the crew left.
A contractor who talks about joint prep, backer rod, and movement rating understands the actual job. One who only asks what colour you want is selling appearance, not weatherproofing.
So, DIY or hire it out?
The line is honest and simple. Do the joints you can reach safely from a step ladder and leave the rest to a crew. A homeowner sealing ground-floor windows on a dry afternoon is doing real, useful maintenance for the price of a few tubes. A homeowner on an extension ladder over a concrete walk with a caulking gun is gambling far more than the job is worth. Split the work by height and footage, not by pride.
If the failed caulking on your house is up high, wraps a lot of the building, or is happening alongside a repaint, that is our work, and it comes with ladders, insurance, the right sealant sized to the joint, and a written warranty. Book a free exterior painting and caulking quote in Toronto and we will walk the house with you, flag which joints you could handle yourself, and price the ones you should not.
About the author
Chad Caglak is the co-owner and lead painter at HomePaintersPro Toronto. Over 20 years across the GTA he has sealed and repainted brick two-storeys, aluminum-clad bungalows, and wood-sided semis, and fixed a lot of DIY beads that failed a storey too high to reach. His focus is matching the right sealant and the right joint prep to a house that has to survive 60-plus freeze-thaw cycles a year, and being straight with homeowners about which parts of that work they can safely do themselves.
Person schema: Chad Caglak, Co-Owner & Lead Painter, HomePaintersPro Toronto. Knows about: exterior caulking and joint sealing; ladder and scaffold safety on residential exteriors; sealant selection and joint sizing; vetting Toronto caulking and painting contractors; Toronto residential painting. 20 years experience.
Frequently Asked Questions
It depends on the joint. Ground-floor windows, short trim joints, and low-movement gaps you can reach safely from a step ladder are a reasonable DIY task if you clean the old bead out first and size the joint properly. Second and third-storey work, long runs of failed caulk, and masonry or expansion joints belong with a professional, mostly for ladder safety and because those joints need the right sealant and tooling to last. A good rule: if you cannot reach it standing on the second rung from the top of a step ladder on level ground, hire it out.
Standalone exterior caulking in the Toronto area generally runs about $3 to $8 CAD per linear foot depending on how much old caulk has to be removed and how high the work sits. Most contractors also have a minimum service charge, often in the $300 to $600 range, because mobilizing a crew and ladders for one window is not worth a smaller ticket. Caulking bundled into a full exterior paint job costs far less per foot because the crew, the ladders, and the prep are already on site. Always confirm whether the quote includes removing the old bead or just laying new caulk over it.
Look for a licensed, insured exterior painting or restoration contractor rather than a one-tube handyman, and ask for proof of WSIB coverage and liability insurance in writing. Ask which sealant they will use and why, whether they remove the old caulk or bead over it, and what workmanship warranty they offer. Read reviews that mention exterior or envelope work specifically, and ask for a couple of jobs done 18 to 24 months ago so you can see how the beads held through a Toronto winter. A contractor who talks about joint prep and movement rating, not just colour, is the one to trust.
Yes, and that is often the smartest split. The ground-floor and porch-level joints are the ones you can reach and inspect safely, so doing those yourself and hiring a pro for the upper storeys is a completely valid plan. Just make sure you remove the failed caulk instead of smearing a new bead over it, because caulk will not bond to old caulk or to dust. Seal the tops and sides of openings and leave the drainage gaps at the bottom of the siding open.
Not usually, and the gap is about prep and joint sizing rather than the tube itself. A pro removes the old bead, cleans the joint, installs backer rod in wide gaps so the caulk is the right depth, and tools the bead so it bonds to both faces. Most DIY beads fail early because they were laid over old caulk or into a joint that was too deep or too dirty. A properly sized premium bead can last 15 to 20 years; a smeared one often lets go in two or three.
At minimum: a dripless caulking gun, a caulk removal tool or a sharp utility knife and a putty knife, a rag and a mild solvent or cleaner for the joint, painter''s tape, and backer rod for any gap wider than about a quarter inch. Buy an exterior-rated hybrid or polyurethane sealant, not interior painter''s caulk. Budget roughly $40 to $90 CAD for a basic tool kit plus $10 to $18 per tube of quality sealant. A stable step ladder on level ground is non-negotiable, and anything above it is a job for someone with proper fall protection.